If you enjoy PC gaming, chances are you have already built your own PC at some point in the past.
Building a PC means selecting the best components for your needs, and then maximizing their perfomance to get the best bang for your buck. (If you’re looking to squeeze out more performance from Battlegrounds specifically, you should also make sure you’re running the best PUBG settings.)
Your CPU
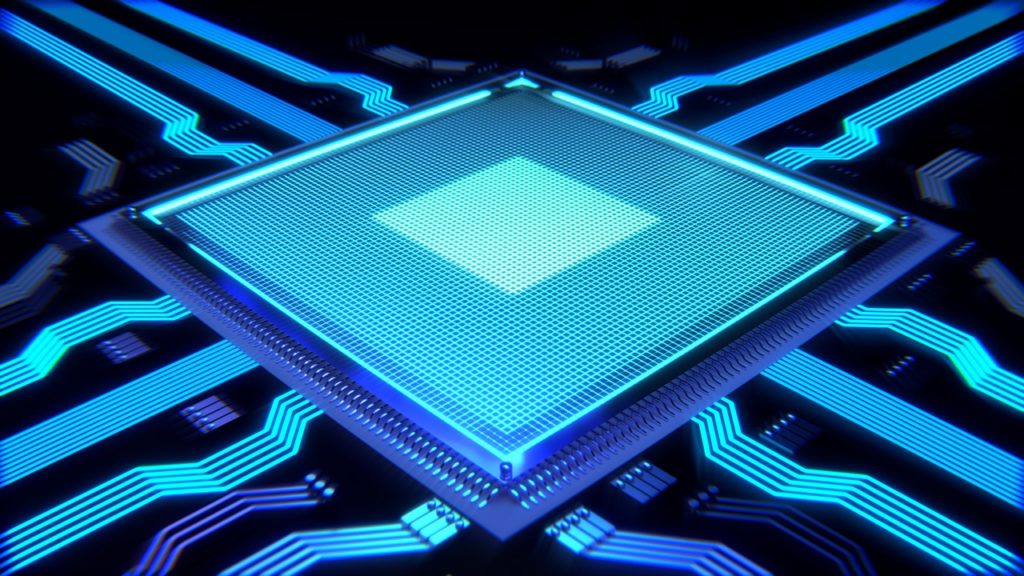
For its computations, the processor (or Central Processing Unit – CPU) uses transistors, which are basically electrically-activated logic gates. The faster you activate them, the more electrical current you’ll need. The more current flows through, the hotter the CPU gets.
Cooling Your CPU
There are a few different types of CPU cooling systems:
1. Air cooling (fan)
2. Water cooling (with a pump, a radiator and a reservoir)
3. AIO Water cooling (an ALL-IN-ONE pre-made cooling system that has a pump and a radiator)
The latter system is fast becoming the most common type of CPU cooling. It’s cheap, effective and is safer for your motherboard (because you don’t have a big, heavy radiator with fans hanging off of your motherboard).
Overclocking
One of the easiest ways to squeeze out more performance out of your components, is to overclock them.
What is Overclocking?
Your processor’s clock frequency is the speed at which the processor can perform its clock cycles. Clock cycles synchronize all the computer’s electronics and allow the computer to do its computations. The faster the clock speed, the more clock cycles per second, the faster the CPU can perform instructions.
Overclocking is the process of increasing the clock frequency of your CPU, thereby making it run faster.
Downsides of Overclocking
The downside of overclocking your components is that, with more current flowing through them, they will get hotter (and faster).
That’s why for any self-respecting PC builder, considerations about cooling your system are just as important as the selection of the actual components.
Squeezing More Performance Out of Your System
Whatever cooling system you may be using, overclocking would allow you to squeeze more performance out of your computer.
A crucial part of CPU cooling is the interface between your cooler and the top of the processor itself. This is where Thermal Paste comes in.
What is Thermal Paste?
Thermal paste is a creamy chemical compound that’s designed to be non-electrically conductive (to avoid short circuits and electrostatic discharge) and very thermally conductive. The idea is that you want to thermally couple as efficiently as possible your cooling system with the CPU itself.
While most AIO systems ship from the factory with a thin layer of thermal paste pre-applied to their pump, it’s really worth investing into some good thermal paste.
Thermal paste is cheap when compared to the cost of PC components, so it’s one of the most affordable ways of squeezing more performance out of your PC.
This is also good for the longevity of your system, because keeping things cooler will definitely increase the lifespan of your entire system.
So What’s the Best Thermal Paste?
There are a few different compounds, and all offer certain advantages. If you’re going to do delidding (the process of actually removing the metal lid on top of your CPU and increasing its heat dissipation properties by thinning the space between the actual die and the lid), then some metal based pastes are better. For anything else, it’s either carbon or—my favorite—ceramic.
Why ceramic?
I’m a fan of ceramic because it’s non-capacitive, meaning that, even if you acidentally get some thermal paste on your motherboard, it won’t cause a short-circuit. It also offers great cooling properties and doesn’t take too long to “settle”.
Unlike metal pastes, it’s also easy to clean up and re-apply if needed.
Test System
I’ll be testing these thermal pastes on a system specced as follows:
CPU: i7 4790K running at 4.4Ghz (1.25V)
Cooler: Corsair Hydro Series H100i (AIO Cooler)
Motherboard: Gigabyte GA-Z97X
RAM: Ballistix Sport 16GB (2 x 8GB)
GPU: GTX 1080 Ti Founder’s Edition
PSU: Corsair RM850x
The Contestants
These are the thermal pastes I’ve personally used, starting from the champion of yesteryear, the Arctic Silver 5, the carbon-based Arctic MX-4, and the popular Noctua NT-H1.
Arctic Silver 5
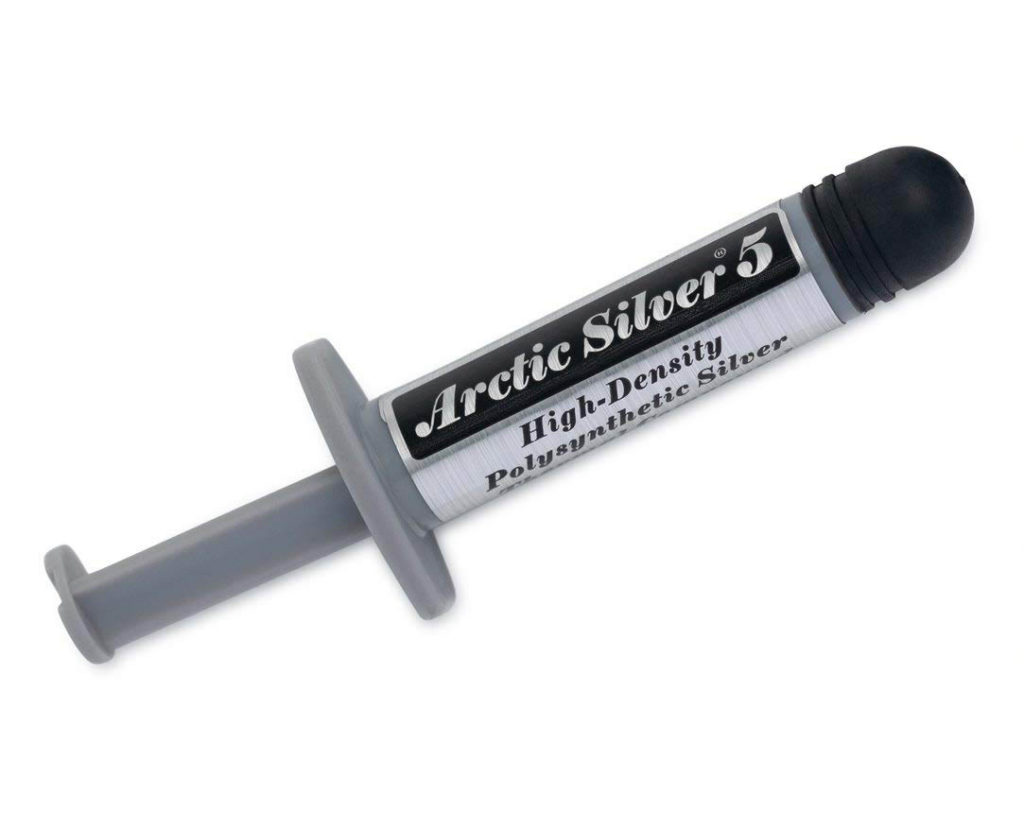
This is one of the first thermal pastes to hit the market, and an instant favorite with overclockers. This paste uses 99.9% micronized silver. Despite that, it’s still considered ceramic-based. The Arctic Silver 5 will perform at its peak only after a good 30 minutes of the system running.
Arctic MX-4
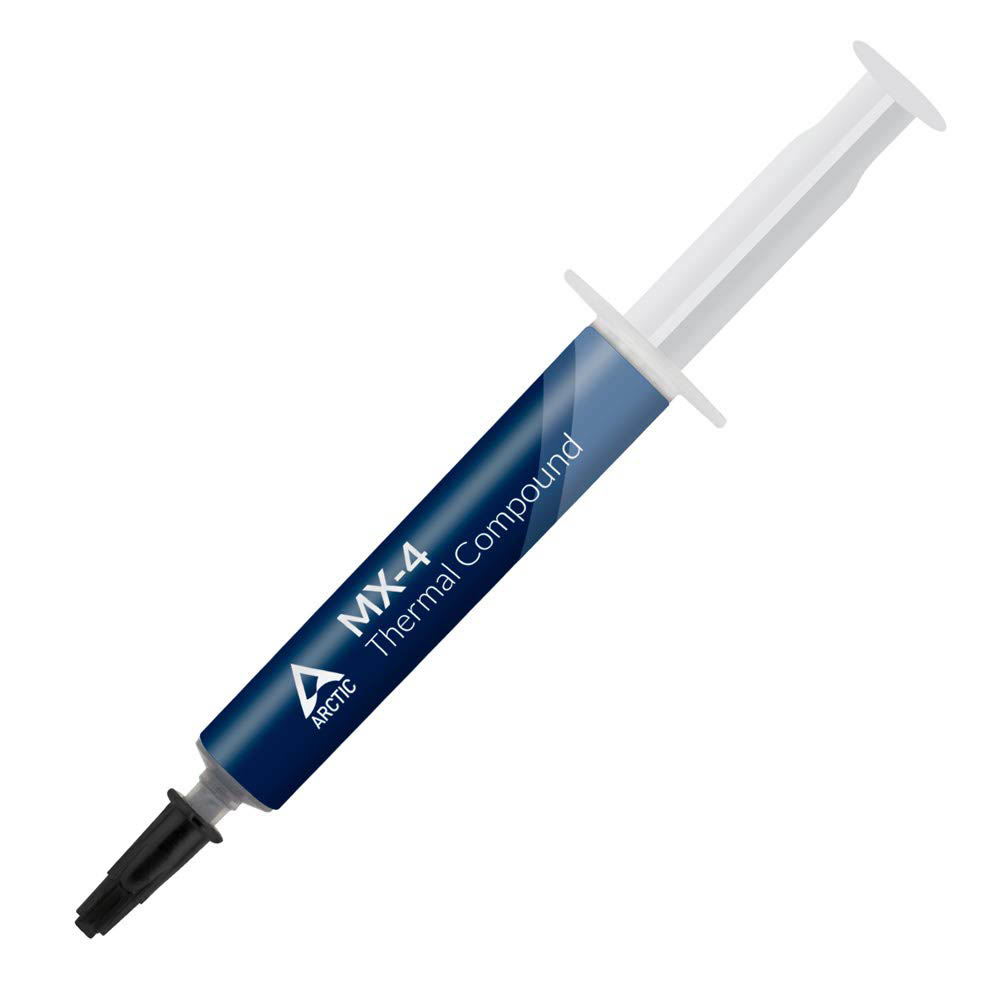
This is a new concept, a carbon-based thermal paste which is made of “carbon micro partciles”. It’s totally non-capacitive, easy to clean up and one of the cheapest thermal pastes around.
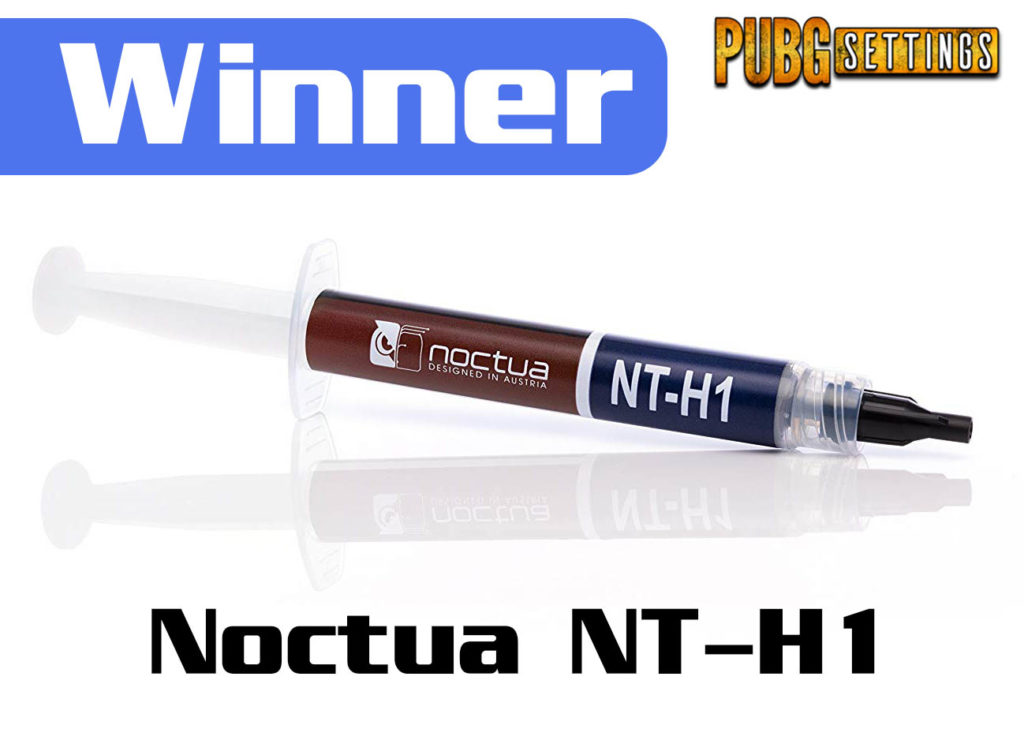
Noctua NT-H1
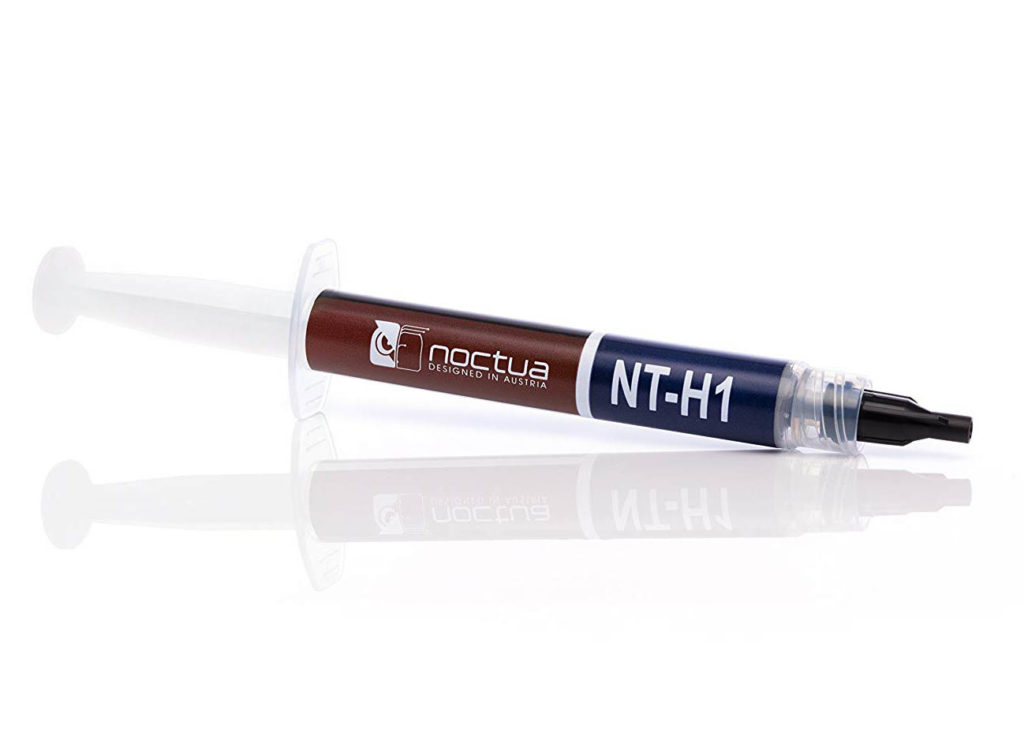
This thermal paste is the de-facto overclockers’ favorite paste outside of the more extreme metal pastes. It’s non electrically conductive, very stable, easy to clean, very easy to apply and requires no burn-in at all.
Application Method
There are a few schools of thought regarding thermal paste application methods and quantities.
For this test, I’ve used the same technique for all the thermal pastes:
One 4mm-diamater pea of thermal paste in the middle of the CPU die.
How Did They Perform?
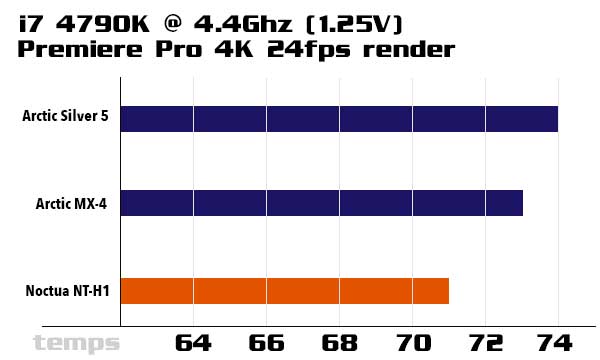
As you can see, the Noctua NT-H1 performed amazingly well. It was the most effective thermal paste by quite a margin. On top of that, its applicator syringe is very well made and provided the best experience in actually applying the paste.
This great quality comes at a great price too, and I would absolutely recommend to pick up a 3.5g tube of NT-H1 to anyone who’s going to build a PC, whether they intend to overclock or not.
Noctua’s NT-H1 is now my go-to thermal paste.